Main Menu
- Home
- Product Finder
- Calibration Systems
- Calibration Services
- Digital Sensing
- Industrial Vibration Calibration
- Modal and Vibration Testing
- Non-Destructive Testing
- Sound & Vibration Rental Program
- Learn
- About Us
- Contact Us
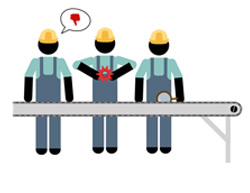
Before NDT-RAM
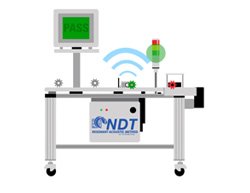
| With NDT-RAM
|
A bearing manufacturer noticed an increase in the number of failures in the NDT-RAM process and discovered that every fifth part that came down the line failed. Failures were traced back to a grinding and polishing station that processed parts in groups of five.
NDT-RAM proved to be an early indicator of tooling wear.